
The Right Lighting Angle for a Selfie
There's a specific point where flattering light turns into a shadow that makes your face look heavier and less attractive, and it's not where most people think. Here's the angle that actually works, and the setup that gets you there.
 Damien, founder of HALOIA10 min read
The best lighting angle for a selfie stays within about 30 degrees of straight-on: your main light hitting your face close to head-on rather than from a hard side angle. Push the light source past that 30-degree mark, and keep going toward 60 degrees, and controlled research shows two things happen to the exact same face: strangers rate it as measurably less attractive, and they judge it as having a higher facial BMI, purely because of where the shadows fall. Nothing about the person changed between the two photos. Only the angle the light came from did. That's the whole game with selfie lighting: it's not about buying a ring light or finding some mythical "good genes" lighting, it's about controlling one variable almost nobody thinks about on purpose. Most people troubleshoot a bad selfie by changing the filter, the outfit, or the pose. The lighting angle is usually the actual problem, and it's also the cheapest one to fix, since it costs nothing but a few seconds of repositioning.
What Light Angle Is Actually Doing to Your Face
A photo has no texture of its own. Everything that reads as shape, structure, or contour in a face is really just a pattern of light and shadow, and that pattern is set entirely by where the light is coming from. Light hitting you almost head-on leaves very little shadow anywhere: no dark pocket under the cheekbone, no line running down from the nose, no shading under the jaw. That's flattering in one sense (nothing looks sunken or aged) but it can also look flat, since a face with zero shadow reads as slightly two-dimensional. Move the light source out to the side and shadows start forming along the same lines a sculptor would use to define a face: under the cheekbone, along the side of the nose, beneath the jaw. A little of that is what makes a face look defined instead of flat. Too much of it, and those same shadow lines start reading as puffiness, sag, or extra weight, because a wide, deep shadow under the jaw or cheek is visually the same signal your brain uses to detect actual facial fullness. The angle doesn't add or remove anything from your face. It decides which of those two effects you get. Portrait photographers have known some version of this for over a century without needing a study to prove it: a soft light placed a bit off-center, roughly where a clock would read 10 or 2 if you were facing straight ahead, is the standard starting point for a flattering portrait, precisely because it sits inside that same forgiving, low-30s-degree range instead of near the harsher extremes.
The Study Behind the 30-60° Rule
This isn't a stylist's rule of thumb, it's been tested directly. Researchers took the same faces and lit them from a series of angles relative to the face, from straight-on out to a hard side light, then had independent raters judge attractiveness and estimate facial BMI from each version, with nothing else about the photo changed. Between 0 and roughly 30 degrees, raters didn't notice a meaningful difference: attractiveness scores stayed essentially flat across that whole range, which is good news, since it means you have real room to move the light around without wrecking the shot. Past 30 degrees, that stability breaks. By 60 degrees, the same face was rated as significantly less attractive and as carrying a noticeably higher facial BMI than the identical face lit closer to head-on. The side shadow at that angle isn't subtle; it hollows one side of the face and puts a hard line along the other, and the brain reads that pattern as "heavier" and "less put-together" even though the underlying face never moved. What makes this useful rather than just interesting is the shape of the curve, not just the endpoint. It isn't a gradual slide where every extra degree makes things slightly worse. There's a flat, safe zone up to about 30 degrees, and then a much steeper drop-off after it. That means you don't need to obsess over hitting some exact perfect angle; you need to avoid crossing one identifiable threshold.
Between 0° and 30° of light angle relative to the face, no significant change in perceived attractiveness is detected. Beyond 30°, and especially at 60°, perceived attractiveness drops significantly and estimated facial BMI increases, driven by the shadows a strong side light creates. (Hernandez et al., Aesthetic Plastic Surgery, 2021)
Light Angle Isn't Camera Angle — Don't Mix Them Up
It's easy to lump "the angle of the photo" into one idea, but light angle and camera angle are two separate levers, and they don't move perception the same way. Light angle is where the light source sits relative to your face; it's what creates or removes shadow, and it's the variable behind the 30-60° effect above. Camera angle is where the lens itself sits: how high, how low, how rotated relative to your face. Camera position has its own, separate research behind it. A slightly elevated camera combined with a small rotation of the face has been shown to noticeably raise perceived attractiveness, an effect especially strong for men, and it makes the face look thinner, though it comes at a small cost: the same shot reads as slightly less "helpful" or approachable. Camera height plays out differently again for trust: people filmed with the camera at eye level are rated as more trustworthy than the same person shot from clearly above or below, even though camera height alone doesn't move attractiveness scores the way angle and rotation together do. The practical takeaway is that you're adjusting two independent dials, not one: keep the light within 30 degrees of head-on to protect shadow quality, and separately choose a camera height and rotation based on whether the goal is looking approachable (eye level, minimal rotation) or looking sharper and more striking (slight elevation, slight turn). In practice, that means a profile photo meant to read as trustworthy, a work profile, a dating app main photo, benefits more from eye-level camera placement than from any lighting trick, while a photo meant to look sharp or striking can afford a bit of elevation and rotation on top of the same 30-degree light setup. The two choices stack; they don't cancel each other out.
A slightly elevated camera angle combined with a small facial rotation markedly increases perceived attractiveness, an effect especially strong for male faces, and makes the face appear thinner, but it reduces perceived helpfulness. (Schneider & Carbon, Frontiers in Psychology, 2017)
People filmed at eye level are rated as more trustworthy than when the camera sits lower or higher, though camera elevation alone has no significant effect on perceived attractiveness. (Baranowski & Hecht, Empirical Studies of the Arts, 2018)
Natural Light vs. Artificial Light
The angle is only half the equation. The size of the light source matters just as much, because a small, harsh source (a bare bulb, a phone flash) creates hard-edged shadows at any angle, while a large, soft source (a window, an overcast sky) wraps around the face and softens the same shadow that would otherwise look like a sharp line. That's why the easiest way to stay inside the 30-degree window without measuring anything with a protractor is simply to use natural, indirect light.
- Window light (facing it, not standing with your back to it) is naturally broad and soft, which makes it far more forgiving if your angle drifts slightly wider than 30 degrees.
- Overcast daylight acts like a giant diffuser covering the whole sky, which is why cloudy-day selfies often look better than the harsh sun many people assume is ideal.
- A single ceiling bulb or overhead fixture is a small, hard source shining down at a steep angle, close to a worst-case combination of the two variables that matter.
- A phone's built-in flash is technically close to 0 degrees since it fires from right next to the lens, but it's such a tiny point source that it creates its own harsh, flat look regardless of angle: no shadow at all, plus blown-out highlights.
Your Appearance Score
What's Your Appearance Score?
60 seconds. Get a score based on your habits.
How to Test Your Own Angle in About Two Minutes
You don't need to trust a general rule blindly when you can just check it on your own face in under two minutes. Stand near a window during the day and take five photos without moving anything except your position relative to the light: one facing it directly, then small steps to the side for each of the next four, so the light moves progressively from roughly 0 degrees to somewhere past 45. Look at the set side by side rather than one at a time, since a single photo is hard to judge in isolation but a sequence makes the shift obvious. Somewhere in that set there's usually a clear point where a soft, shaping shadow turns into a harder line that starts to look like sag or heaviness along the jaw or under the cheekbone. That's your personal version of the 30-degree threshold, and it's worth remembering roughly where you were standing when it happened, since it'll be close to the same angle next time.
The Classic Mistake: Overhead Light and Direct Flash
Two setups account for most bad selfie lighting, and both are everywhere by default. The first is the bathroom mirror selfie lit by a single ceiling fixture: light coming almost straight down carves shadow into the eye sockets, under the nose, and under the chin, the exact pattern that reads as tired and older regardless of how someone actually feels that day. It's not the 30-60° side-light problem from the study above, it's a steeper, downward version of the same underlying issue: a hard, narrow light source hitting the face from a punishing direction. The second mistake is the opposite extreme: firing the flash straight at the lens. That collapses shadow to almost nothing, which sounds like it should help based on everything above, but a tiny, blinding point source that close does something worse. It flattens all the contour that gives a face shape, washes out skin texture, and blows out highlights on the nose and forehead while the background often goes dark. Neither setup is really about the angle in isolation; both are about pairing a small, harsh source with an angle that has nothing going for it. Video calls run into the same problem for a different reason: a laptop screen sitting below eye level, lit only by an overhead office light, stacks a bad camera angle on top of a bad light angle at once, which is why so many people look tired and washed out on calls despite feeling fine in person.
A Simple At-Home Setup That Actually Works
None of this requires equipment. It requires knowing which spot in a room you already have and using it on purpose instead of by accident.
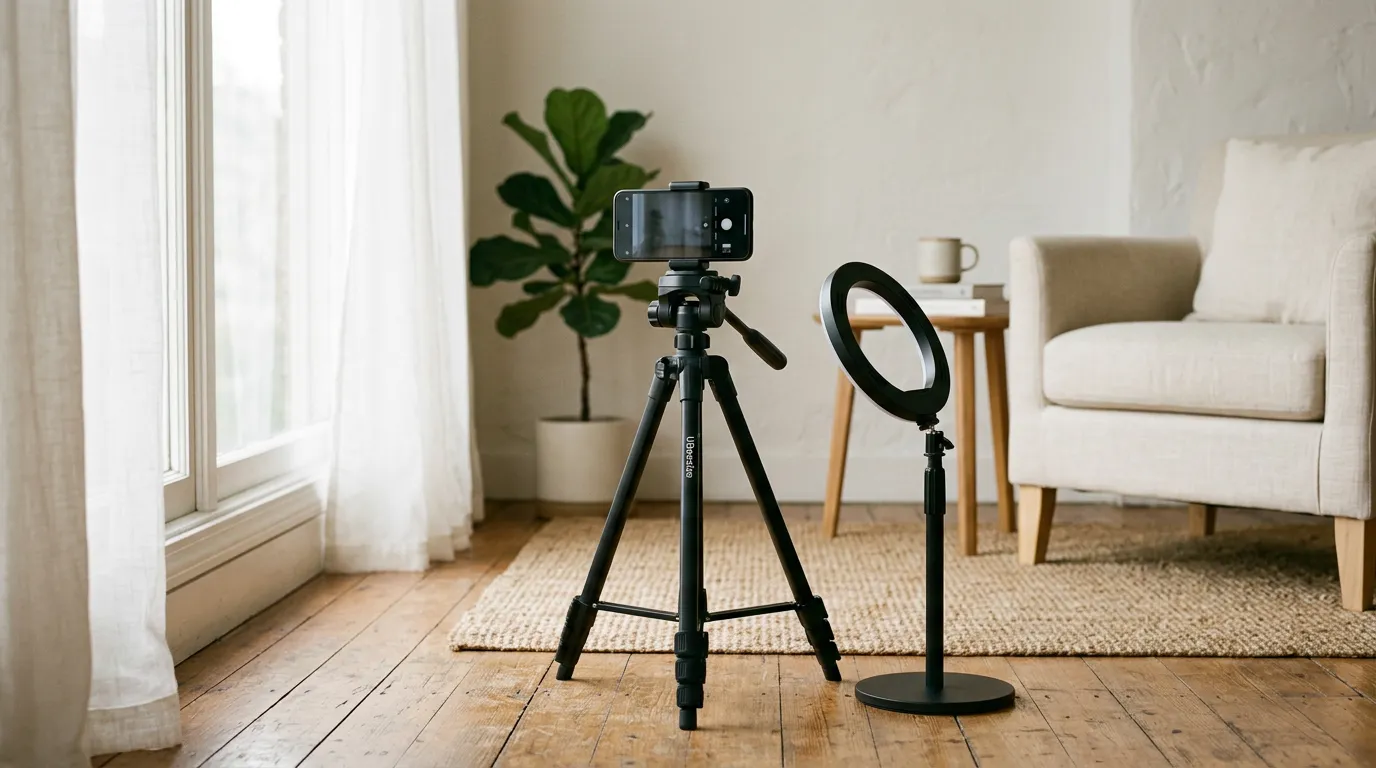
- Face a window rather than standing with it behind you, and position yourself so the light hits your face roughly 15 to 30 degrees off dead-center, not fully square-on and not from the side.
- Shoot mid-morning or mid-to-late afternoon for the softest direct daylight, or any time of day when it's overcast, since clouds do the diffusing work for you.
- After dark, swap the window for a lamp with a shade, not a bare bulb, placed at that same rough 15-to-30-degree angle; bouncing it off a wall or shooting it through a thin curtain softens it further.
- Add a weak second source opposite your main light, a white wall, a mirror, or even a sheet of paper works, so the shadow on the far side of your face goes soft grey instead of fully black.
- Turn off overhead room lighting when you can and let the window or lamp do the work alone; mixing a downward ceiling light with your side light reintroduces the exact under-eye shadow you're trying to avoid.
One More Detail Almost Everyone Skips: Color Temperature
Angle and softness get most of the attention, but mixing light sources with different color temperatures in the same shot is what quietly makes a technically well-lit selfie still look slightly off. Daylight sits in a cooler, bluer range; indoor bulbs and lamps typically run warmer and more orange; a phone's LED flash sits somewhere in between but skews harsh rather than warm. When two of these mix in one frame, your camera can usually only correct for one of them, so the other throws an odd color cast across half your face. The fix costs nothing: pick one dominant light source for the shot, natural window light or a single indoor lamp, not both fighting each other, and let your phone's automatic white balance do its job on that one source instead of trying to average two. Most phones default to auto white balance, which is usually fine once only one source is in play; it's mixed sources it can't reliably fix, not a single warm or cool one.
This is also the practical reason lighting consistency matters beyond any single photo. If you're comparing how your face looks week to week, whether that's tracking a change in diet, sleep, or hydration, a photo lit at 15 degrees under soft window light and a photo lit at 60 degrees under a harsh ceiling bulb will look meaningfully different from the same face on the same day. That difference isn't progress or regression, it's lighting, and it's easy to mistake one for the other if the setup isn't held constant. Keeping the same window, the same rough angle, and the same time of day each time you take a tracking photo is what makes the comparison mean anything at all. That's exactly the layer HALOIA's appearance tracking is built to sit on top of: log your real meals, sleep, and habits, and let consistent photos show what's actually changing on your face instead of what a different lamp did to it. If you want a fast starting point before changing anything, HALOIA's free appearance quiz gives you a baseline read on where your skin, habits, and routine currently stand.
This article is for information only and is not a substitute for medical advice. For any question about your health, a treatment or a supplement, consult a qualified professional.
Improve your appearance by eating better
Build real confidence by tracking your diet. Download HALOIA and start your tracking.

Go further
Should You Hire a Photographer for LinkedIn?
A close-up selfie and a professional headshot don't just look different, they make people think different things about you. Here's what the research actually shows, and how to get most of the effect without booking a studio.
Does Building a Non-Smoker Identity Help You Quit?
Willpower treats every cigarette as its own fight to win. Identity skips the fight entirely. Here's what a year-long study of 623 smokers found, and how the same lever works on food and exercise too.
Cold Showers: The Real Effect on Stress
Everyone's doing cold showers for the mental health benefits, but the science is pickier than the trend suggests: the calming effect is real, it just isn't the one you get from a single icy blast.